Account Settings
Manage Your Account Settings
In the Account Settings section, you can update and personalize your user profile on the Travelgate platform. The following fields are available for editing:
- First Name
- Last Name
- Password
- Job Title
- Department Area
Make the necessary adjustments to set up your personalized user profile on Travelgate.
How Can I Change My Password?
To update your password, follow these steps:
-
Log into Travelgate
-
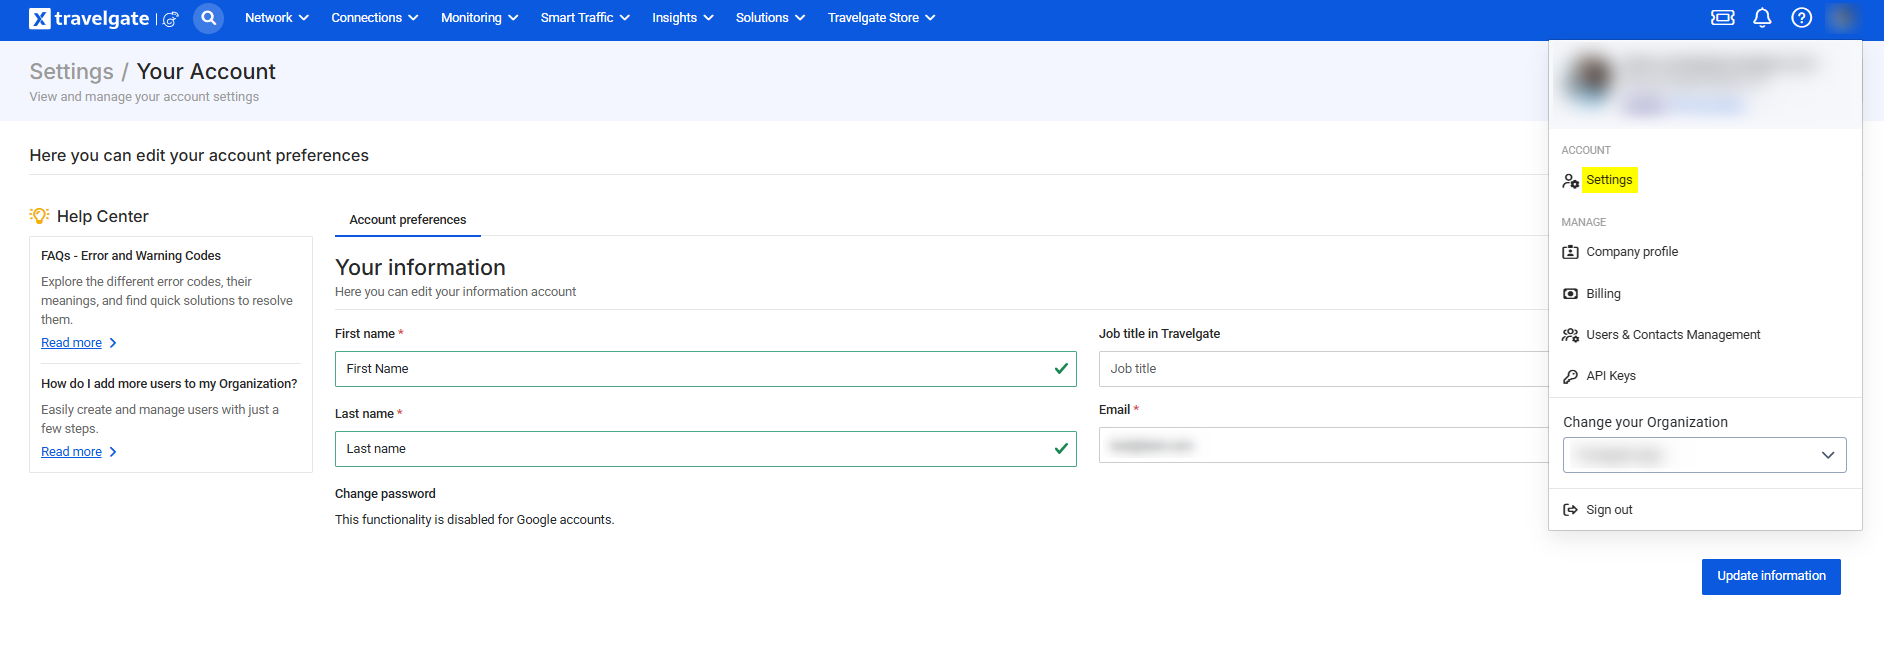
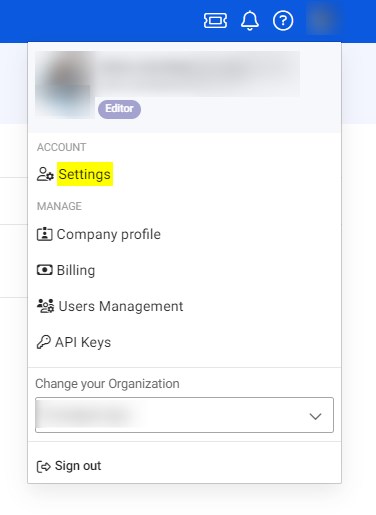
Navigate to Account Settings
- Click on the Account section in the top right corner of the screen.
- Select Settings.
-
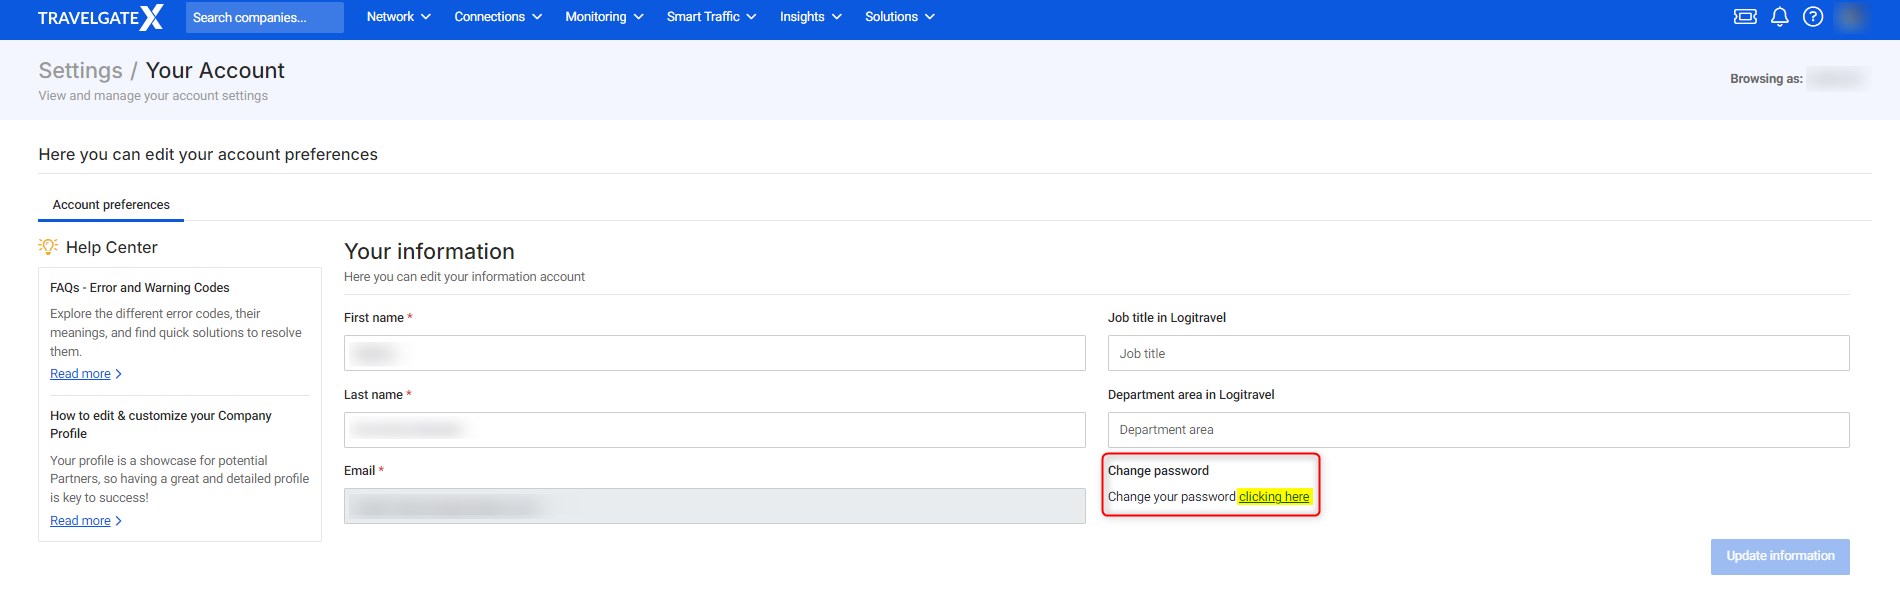
Locate the Change Password Option
-
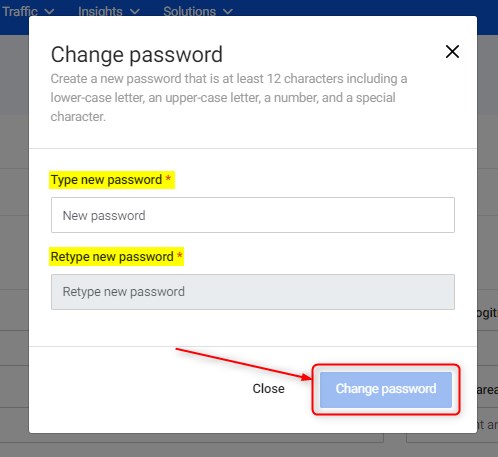
Enter and Save Your New Password
I forgot my password but am not receiving the recovery email. What should I do?
This usually happens when a user previously logged in using Google authentication.
If you have ever used your Google account to log in, you must continue to use the "Sign in with Google" option. Once you switch to Google authentication, the traditional username and password login, password recovery, and the option to change your password are no longer available for your account.
Can I log in using my Google account?
Yes. Travelgate supports Google account login for both new and existing users. Follow the steps below depending on your situation.
For New Users
- Open the invitation email sent by a member of your organization and follow the instructions provided.
- Visit Travelgate.
- Click the 'Sign In' button in the top-right corner of the page.
- On the 'Log me in' screen, select Log in with Google and sign in with your Google account.
- Set up Two-Factor Authentication (2FA) by following the steps in this article.
For Existing Travelgate Users
- Visit Travelgate.
- Click the 'Sign In' button in the top-right corner of the page.
- On the 'Log me in' screen, select Log in with Google and sign in with your Google account.
- Set up your Two-Factor Authentication (2FA) again by following the steps in this article.